
I’ve perfected my banana bread recipe through years of Sunday baking sessions, and it’s become my most requested treat. The secret lies in how you handle those spotty, overripe bananas—they’re not trash, they’re treasure. My method guarantees each slice stays moist for days (though it rarely lasts that long in my house). There’s something deeply satisfying about transforming simple pantry staples into something that fills your kitchen with such an irresistible aroma.
Simple Ingredients for Classic Banana Bread
The beauty of banana bread lies in its simplicity. You’ll need just a handful of pantry staples to create this moist, flavorful treat. The traditional recipe calls for self-raising flour, baking powder, salt, sugar, and a touch of sour cream or margarine to create that tender crumb.
One well-beaten egg and just enough milk make the dough perfectly sticky. The real star, of course, is ripe bananas—the spottier, the better. They provide natural sweetness and that unmistakable flavor we all crave. These humble ingredients transform into something truly magical when baked together.
How to Prepare Your Bananas for Maximum Flavor
Every great banana bread begins with properly prepared bananas, and achieving maximum flavor requires a bit of patience. I recommend using overripe bananas with dark, speckled peels – they’re sweeter and more aromatic than yellow ones.
For intensified flavor, try roasting your bananas in their peels for 15 minutes at 375°F. This caramelizes the sugars and deepens the taste profile. Alternatively, freeze ripe bananas, then thaw them before mixing into your batter.
When mashing, leave some small chunks for texture variation. Don’t overmix once added to your batter – this preserves those pockets of banana goodness throughout your bread.
Mixing Your Batter: The Secret to Moist Texture
Mixing techniques make all the difference between dry, dense banana bread and the perfectly moist texture we’re after. I’ve found that the key is to combine wet and dry ingredients separately first. When you’re ready to merge them, use a gentle folding motion rather than aggressive stirring.
I recommend adding your mashed bananas to the wet mixture of beaten egg, milk, and a tablespoon of sour cream or margarine. Then fold this into your twice-sifted flour mixture just until incorporated. Those tiny streaks of flour? Leave them—overmixing activates gluten, creating toughness.
Baking Your Banana Bread to Perfection
Now that your batter is properly mixed, let’s focus on baking—arguably where most banana bread attempts go wrong. I recommend setting your oven to 375°F (190°C) and positioning your loaf in the middle rack where heat distributes evenly.
Your bread will need about 10 minutes initially, but don’t rely on timing alone. Halfway through, rotate the pan to guarantee even browning. The bread is done when a toothpick inserted comes out clean.
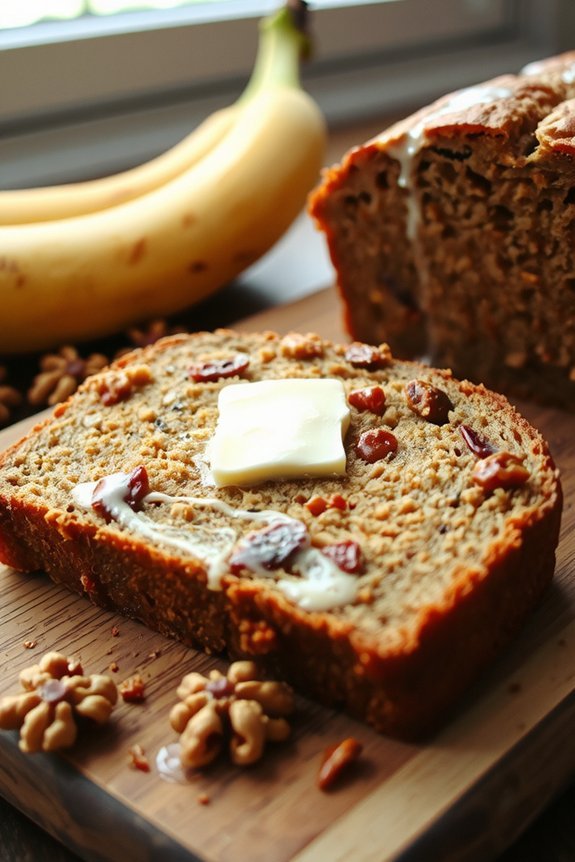
Let it cool in a cloth on a wire rack. Serve while still slightly warm—that’s when the flavors truly shine and butter melts perfectly into each slice.
Delicious Mix-ins to Customize Your Banana Bread
While the classic banana bread stands on its own, adding mix-ins can transform your loaf into something truly special. I love tossing in a handful of chocolate chips or chopped walnuts for texture and flavor contrast.
For a tropical twist, try coconut flakes and macadamia nuts. Cinnamon chips or a swirl of cream cheese can create delightful variations. Dried fruits like cranberries or blueberries add tartness and chew.
If you’re feeling adventurous, fold in crushed pineapple (drained well) or a ribbon of Nutella. Just remember to fold these ingredients gently into your batter to maintain that perfect texture.
Testing for Doneness: When to Take It Out
Knowing when your banana bread is perfectly done requires attention to several key indicators. I’ve found that inserting a toothpick into the center is the most reliable test—it should come out with a few moist crumbs, not wet batter. The top should be golden brown and slightly cracked, while gently pressing the center should feel springy, not soggy.
Don’t rely solely on baking time, as ovens vary. Start checking about 5 minutes before your recipe suggests. Remember, banana bread continues cooking slightly after removal, so it’s better to pull it slightly early than risk drying it out.
Storing Banana Bread to Maintain Freshness
Once your banana bread has passed the toothpick test and cooled properly, proper storage becomes the next challenge. I recommend wrapping your loaf tightly in plastic wrap or aluminum foil to prevent air exposure. At room temperature, your banana bread will stay fresh for about 3-4 days.
For longer storage, refrigeration extends freshness to a week. Simply bring slices to room temperature before serving, or warm them slightly for that just-baked texture.
If you’ve baked extra loaves, freezing is perfect. Wrap well, place in freezer bags, and your banana bread will keep for up to three months.