

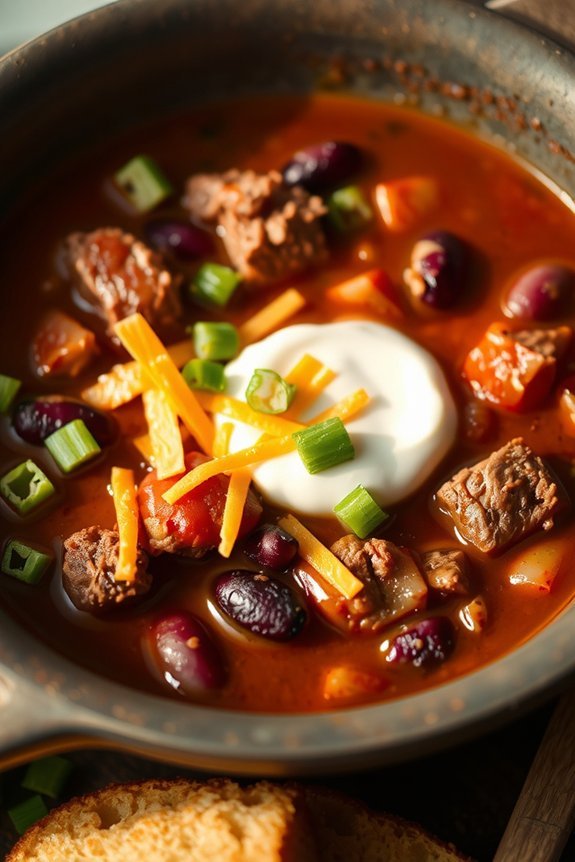
I’ve been making my classic chili recipe for over 20 years, perfecting it through countless cold winter nights. It’s not just a meal—it’s my family’s tradition in a pot. The secret lies in how the spices bloom and develop during that slow simmer. There’s something about the rich aroma filling your kitchen that signals comfort like nothing else. Let me show you how this humble dish becomes something extraordinary with just a few key techniques.
What Makes This Green Chile Cheese Casserole Special
Though it may look simple, this Green Chile Cheese Casserole stands out for its perfect balance of flavors and textures. The whole green chilies provide a mild heat that’s complemented by the creamy richness of Monterey Jack cheese.
What I love most is how the whipped egg and sour cream mixture transforms during baking, creating a fluffy, custard-like layer that binds everything together. The layering technique guarantees every bite delivers both cheese and chile.
It’s incredibly versatile too—perfect as a side dish, breakfast option, or even a light dinner with a salad.
Choosing Between Fresh and Canned Green Chilies
The recipe’s success hinges on the quality of your green chilies. While our recipe calls for canned chilies for convenience, you can substitute fresh ones if you’re feeling ambitious.
Fresh chilies offer brighter flavor and firmer texture, but require roasting, peeling, and seeding—about 30 minutes of prep. Canned chilies save time without sacrificing much quality.
If using fresh, choose Anaheim or Hatch varieties for authentic flavor. You’ll need about 8 medium chilies to replace two 4-ounce cans. Remember to adjust salt accordingly, as canned versions contain more sodium.
Layering Technique for Maximum Flavor
Proper layering forms the cornerstone of this chili casserole’s distinctive flavor profile. I start by arranging half of my drained, opened green chilies flat across the bottom of a buttered casserole dish. This first layer creates the foundation for flavor absorption.
Next, I cover these chilies completely with half the Monterey Jack cheese. Then I repeat the process—chilies followed by cheese—creating a second complete layer. This method guarantees every bite contains both ingredients.
The final step involves pouring my egg and sour cream mixture over everything. This creamy blend seeps down, connecting all layers during baking.
The Perfect Cheese Selection for Green Chile Casserole
Selecting Monterey Jack cheese serves as the cornerstone of this green chile casserole’s success. I’ve found its mild flavor and exceptional melting properties create that perfect gooey texture while allowing the chilies’ flavor to shine through.
For the best results, I recommend grating the cheese yourself rather than using pre-shredded varieties. The anti-caking agents in packaged cheese can sometimes interfere with that silky-smooth melt we’re after.
If you’re feeling adventurous, try substituting half the Monterey Jack with pepper jack for a bit more heat, or add some sharp cheddar for a tangier profile.
Quick 15-Minute Prep for Weeknight Dinners
When you’re juggling a busy weeknight schedule, this green chile casserole becomes your secret weapon in the kitchen. I’ve perfected the prep down to just 15 minutes – then your oven does all the heavy lifting!
Simply drain and slice the chilies, layer them with Monterey Jack in a buttered dish, and whip together eggs and sour cream with a dash of salt and pepper. Pour the mixture over your layers, pop it in the oven at 350°F, and walk away for 45 minutes.
You’ll have time to help with homework or take a breather before dinner’s ready.
Spice Adjustments: Making It Mild or Extra Hot
One of the best features of this chile casserole is its adaptability to any heat preference. For a milder version, remove all seeds from the green chilies and consider substituting half with roasted bell peppers. You can also use a mild Monterey Jack.
Want to crank up the heat? Mix in diced jalapeños or serranos with the green chilies. I like adding a pinch of cayenne or chipotle powder to the egg mixture for smoky heat. For serious spice lovers, use pepper jack cheese instead of regular Monterey Jack.
The basic recipe stays the same—just these simple tweaks transform the heat level completely.
Serving and Storing Your Green Chile Casserole
Once your green chile casserole emerges golden and bubbling from the oven, let it rest for 5-10 minutes before serving. This allows the casserole to set slightly, making it easier to portion. I like to serve mine with warm tortillas or crusty bread for dipping.
Leftovers will keep in the refrigerator for up to three days. Simply cover tightly with plastic wrap or transfer to an airtight container. When reheating, use a 300°F oven until warmed through—about 15 minutes. The microwave works in a pinch, but may make the texture slightly soggy.